
Why Spruce and Juniper Needles Look Dusty in Peak Summer Heat
Published 07/17/2026
Owners often read a dull, dusty cast on spruce and juniper as drought and answer with more water. In hot dry weeks that guess misses a quieter cause. Spruce spider mites feed hardest when air is warm and dry, and the first sign is a fine gray stippling on older needles that spreads inward before whole branches fade. This guide follows the same summer mite check our crews use on parcels in the Roaring Fork and Vail valleys, so you can tell a mite problem from a watering problem before color loss stacks up.
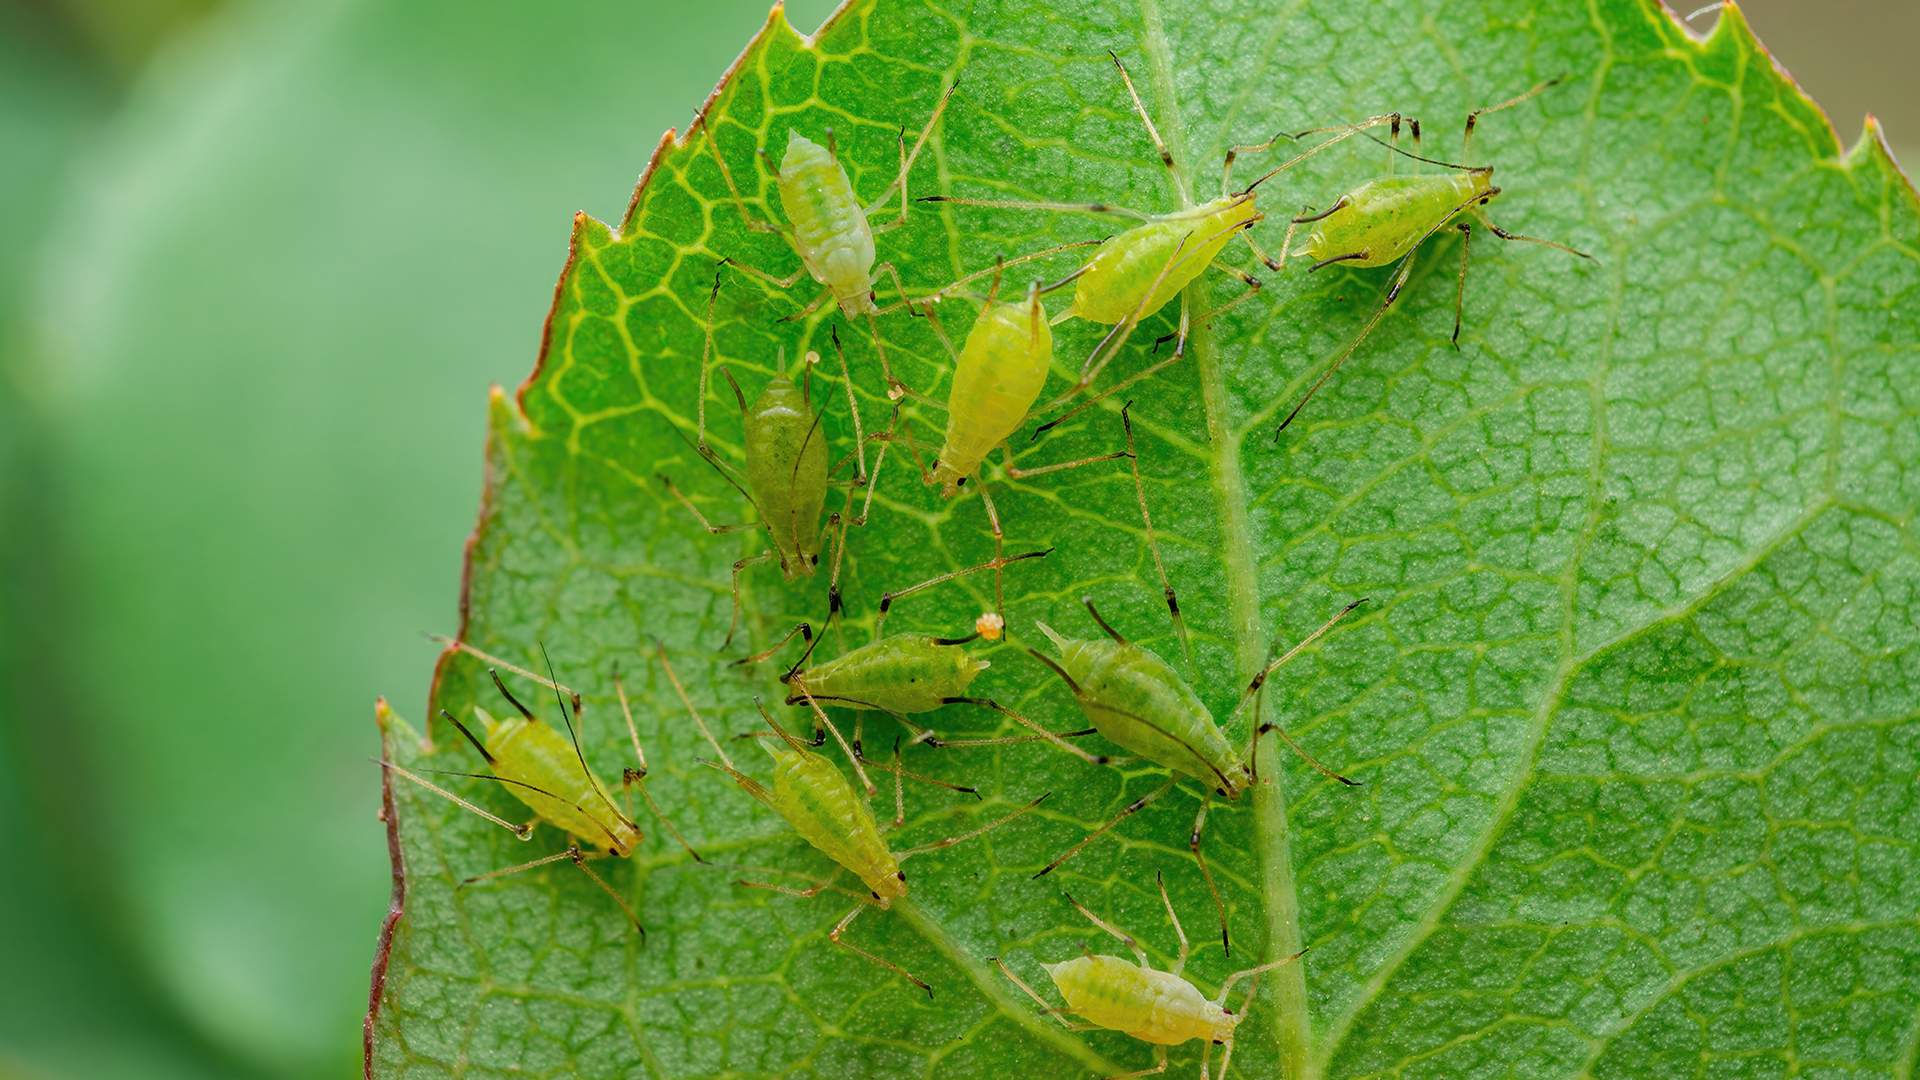
Pair it with hidden signs of tree stress for the broader picture, and read the scale and aphid outlook so you do not confuse one pest for another. Earth-Wise supports evergreen scouting through plant health care, deep root watering, and consultations when needle color and soil moisture tell two different stories.
Plan about twenty minutes with a sheet of white paper and a hand lens. You do not need special tools to confirm mites, only a steady branch tap and good light.
Step 1: Read the pattern of color loss
Walk the plant and note where the dull cast sits. Mite stippling starts on older interior needles low and inside the canopy, then works outward, while drought browning tends to hit tips and the sunniest side first. On lots in Vail and Basalt, dwarf Alberta spruce and junipers near hot walls show it first.
Look for a bronze or gray haze rather than clean green. Individual needles carry tiny pale flecks where mites drained cells. That flecked look, not a solid brown, is the tell that separates mite feeding from a simple dry spell.
Step 2: Run the paper tap test
Hold a sheet of white paper under a suspect branch and rap the branch sharply two or three times. Wait a few seconds, then watch the paper. If tiny specks begin to crawl and smear green or rust when you wipe them, you have active mites, not dust.
Do this on several branches around the plant at the same time of day. A clean tap on the shaded north side and a busy tap on the hot south side still counts as a mite problem worth tracking.
Step 3: Check for webbing and eggs
Use a hand lens on the flecked needles and the twig crotches. Fine silk strands and rows of round eggs at the needle base confirm a building population. Spruce spider mites often peak in the hot dry stretch and slow when nights cool, so a mid-season count sets your baseline.
Note whether one plant or a whole hedge line carries silk. A single stressed specimen and a shared screen of junipers call for different responses, and that difference matters more than the raw mite count.
Step 4: Rule out drought and iron before you spray
Push a screwdriver into the root zone. If soil is bone dry two inches down, thirst is stacking onto mite feeding, and both need answers. If soil holds moisture yet needles still flecked, water alone will not fix the cast on the canopy.
Pale new growth with green veins points elsewhere. Read iron chlorosis on mountain landscapes so you do not treat a soil chemistry issue as a pest. Mites fleck older needles; chlorosis pales the newest ones.
Step 5: Ease the drought stress that feeds the problem
Hot dry soil pushes evergreens toward the stress mites exploit. Deep, infrequent soaks at the dripline beat shallow daily spray that wets foliage and misses roots. Read watering trees in the high country for species habits before you change a schedule.
On graded lots, upper fill above rock dries faster than low corners, so one evergreen can thirst while its neighbor holds moisture. Deep root watering targets that depth when spray never reaches roots on parcels in Edwards and Snowmass.
Step 6: Note reflected heat and exposure
Mites build fastest where heat concentrates. Evergreens against south walls, near driveways, or above rock mulch run warmer and drier than the same plant in an open bed. Read cool nights and hot afternoons at elevation when color changes track exposure more than total water.
Photograph the hottest corners of the property dated this week. A record of where dusting started helps a technician judge whether layout, water, or mites lead the story on your lot.
Step 7: Re-check in ten to fourteen days
Tap the same branches again after adjusting water. Rising counts and spreading silk mean the population is still climbing and a treatment window matters. Falling counts as nights cool may let you hold and monitor instead.
Keep the paper tap results beside your watering notes so mite scouting fits a full season plan rather than a single reaction.
When to bring professional eyes
A technician who reviews mite counts, soil moisture, and exposure together gives better direction than treating dusty needles as one problem. Timing matters because miticides work on the active generations you can confirm on paper, not on a hunch weeks late.
To book an evergreen check on site, request a quote with dated photos, the plants involved, and a note on which corner dulled first on your lot in Aspen or the Roaring Fork valley. Roaring Fork Valley: 970-928-8480. Vail Valley: 970-476-7336.